ㅤ
Blistering and Wrinkling
Moisture and Heat Blisters
Paint blistering happens when bubbles form due to loss of adhesion and/or lifting of the paint film from the underlying surface.
POSSIBLE CAUSES
- Heat blistering by painting in direct sunlight on a surface that is too warm.
- Moisture blistering by the migration of water through an interior wall to the exterior, thus pushing the paint off of the surface.
- Application of oil-based or alkyd paint over a damp or wet surface.
- Exposure of latex paint film to high humidity, moisture or rain soon after paint has dried, especially if there was inadequate surface preparation or poor ventilation in kitchens and bathrooms.
- Dampness in the basement.
- Moisture seeping in through the exterior walls.
- Insufficient surface preparation when painting over a contaminant to which the coating cannot adhere.
SOLUTION
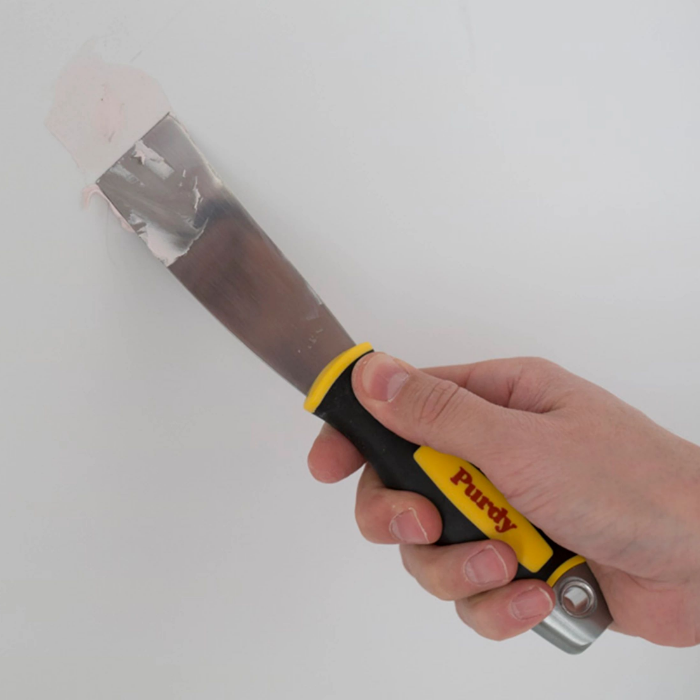
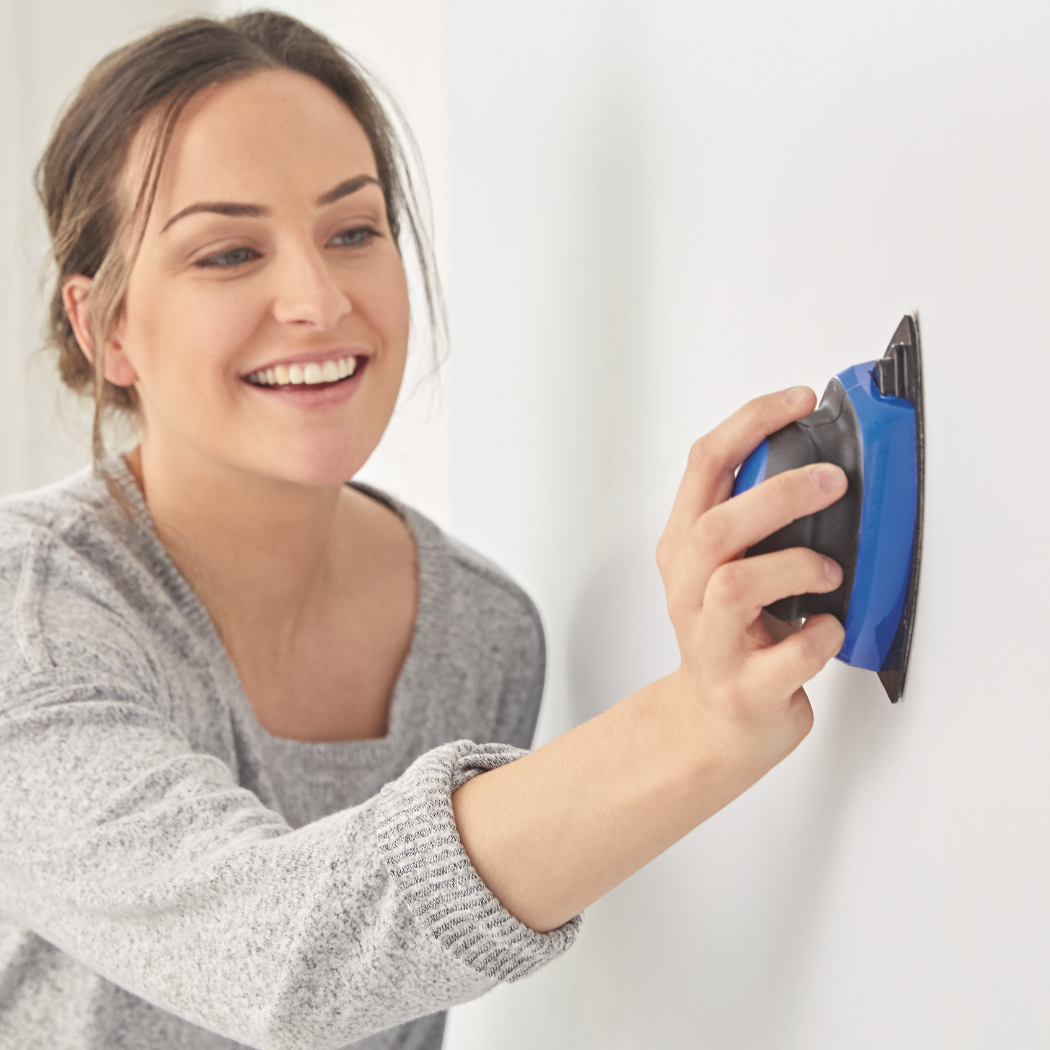
If blistering goes all the way down to the bare surface, the cause is likely to be moisture escaping from the surface. Remove all loose paint (by scraping or other method) and sand the surface to smooth out any rough edges. Determine and repair any cause of excess moisture before repainting. Repair old or damaged caulking or install new caulking as needed, and install vents, exhaust fans or siding wedges to allow the moisture a path to escape instead of going through the paint.
If paint blistering goes down to a previous coat, remove all loose paint (by scraping or other methods), and sand the surface to smooth out any rough edges. Sand any glossy surface dull. Allow sufficient drying time after cleaning and repaint.
ㅤ
ㅤ
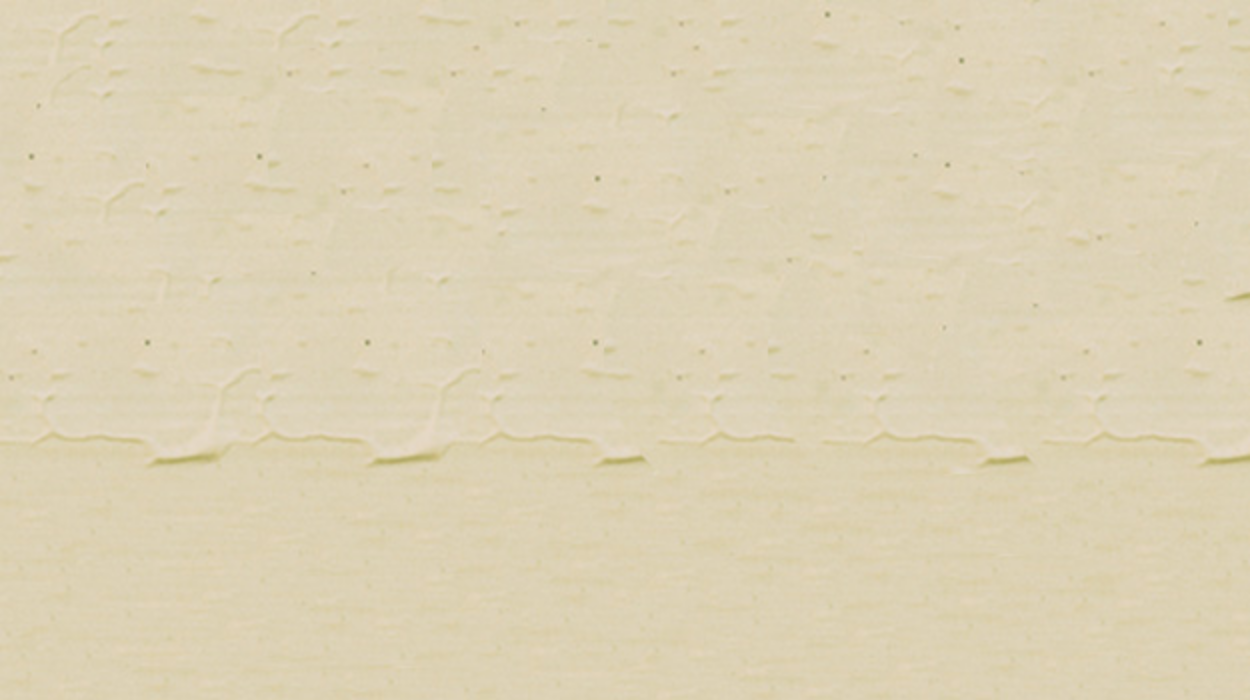
Wrinkling
Wrinkling is a rough, crinkled paint surface that occurs when uncured paint forms a "skin."
POSSIBLE CAUSES
- Paint applied too heavily.
- Painting under extremely hot conditions or cool, damp conditions, which causes the paint film to dry faster on top than on the bottom.
- Exposure of uncured paint to rain, dew, fog or high humidity levels.
- Applying topcoat of paint to insufficiently cured primer or first coat of paint.
- Painting over contaminated surface (such as dirt or wax).
SOLUTION
Scrape or sand to remove the wrinkled coating and sand the surface smooth to blend it into the surrounding coating. Make sure the surface is thoroughly clean. If needed, prime bare areas with the appropriate primer, allowing it to dry according to package instructions. Reapply the paint following the label instructions for spread rate and environmental conditions.
ㅤ
ㅤ
Sagging
Sagging is the downward drooping of paint film immediately after application, resulting in an uneven coat.
POSSIBLE CAUSES
- Applying paint too heavily.
- Applying paint in excessively humid and/or cool conditions.
- Over-thinning paint before applying.
- Painting over a glossy surface, which does not provide enough of a profile to which the coating can adhere.
- Painting over a surface contaminant (such as dirt or wax).
SOLUTION
If paint is still wet, immediately brush out or re-roll to redistribute the excess evenly. If the paint has dried, sand and reapply a new coat of paint.
Do not thin the paint unless recommended on the label.
Follow label directions for the appropriate environmental conditions for the paint.
Sand glossy surfaces dull to provide a profile so the coating can adhere to it.
Follow label directions for the appropriate spread rate (the recommended total area that can be painted) for the product. For example, if the label states that the paint will cover 400 square feet, do not spread the paint over considerably more or less than that area.
Applying two coats of paint at the recommended spread rate is better than one heavy coat.
ㅤ

ㅤ
Foaming
Paint cratering is the formation of air bubbles or a foamy appearance where bubbles break in the paint film during drying and resemble small, round depressions or craters.
POSSIBLE CAUSES
- Shaking a partially filled can of paint or using too high a speed when using a drill mixer, introducing a lot of bubbles in the paint.
- Excessive brushing or rolling or applying paint too rapidly drives excess air into the film.
- Using a roller cover with wrong nap length.
- Applying a gloss or semi-gloss paint over a porous or unsealed surface.
- High heat during application speeds up drying, but bubbles or craters will dry before they break and level out.
- Using a thinner/reducer that is inappropriate for the coating.
SOLUTION
All paints will foam to some degree during mixing and application; most paints are designed to allow these bubbles to break and flow smooth during drying.
Allow the coating to dry thoroughly, then sand smooth and repaint.
Slowly stir partially filled containers to prevent entrapping excess air in the coating.
If there is a very noticeable amount of air bubbles during application, try slowing down application speed.
Follow label and data page directions for the appropriate applicator. Determine the correct roller cover type or nap based on the coating being applied and the surface to be coated. Match the roller nap to the texture of the surface. On smooth surfaces, a 1/4" or 3/8" roller nap is usually sufficient. For a medium-textured surface, use a 1/2" nap. On rough or deeply textured surfaces, use a 3/4" nap or greater.
Prime porous surfaces before top coating.
Follow label and data page directions for the appropriate environmental conditions.
Allow each coating to dry properly before top coating.
Follow label directions for the appropriate thinner/reducer and amount to use.
ㅤ

